Table of Contents
Summarize with AI
Elementor page builder is the most easy & enjoyable solution to create WordPress website. However, the header and footer might occasionally make it difficult to finish a template as per requirement. We encounter difficulties when attempting to create or edit the header and footer in Elementor.
When you import a theme or template, it is natural that you may not have chosen the header and footer part. That is why you surely want to change them by creating a new one. So, we have brought this article that will give you the entire process to create and edit the header and footer with Elementor easily.
What is Elementor?
The Elementor is a drag & drop page builder plugin for WordPress, which allows you to edit the content and create your elements in the frontend. With Elementor, you can customize your website with just a few clicks and quickly adapt it to your corporate identity.
With Elementor widgets which is easily inserted into pages through drag-and-drop, you can add value to your website without much effort. Elementor is particularly recommended for users with no prior web design and development knowledge.
The Page Builder comes in a free and a pro version. Although the paid version has more interesting options, the free version also offers a lot of features.
We will go into one of the best features in more detail in this tutorial. Now we want to show you how you can create a custom header in Elementor.
What is a Header?
The header stands for the upper part of a website that can be found on every page. The header might include:
- Logo
- Menu
- Language switcher
- Shopping cart
On the ThemeRally website, the header looks like this:

When you’re about to create or edit a header with Elementor, there is one thing you shouldn’t overlook that the header is not only the first thing your visitor notices; it is also one of the most frequently used areas of your website.
But what should you keep an eye on while designing the header?
- Choose the right font and color for the best readability
- Consider the type of your website: a header for a blog and a header for an eCommerce website look different
- Don’t forget that the UX is significant: The header should make finding your way around your website more accessible.
How to Create and Edit Header in Elementor
Suppose you want to change the header on your new website. We are assuming that you have already installed a theme and Elementor. In our case, we take a demo WordPress theme that has Elementor. The menu of this theme looks perfect, but still, we want to edit some elements. How can we do that? Let’s see:
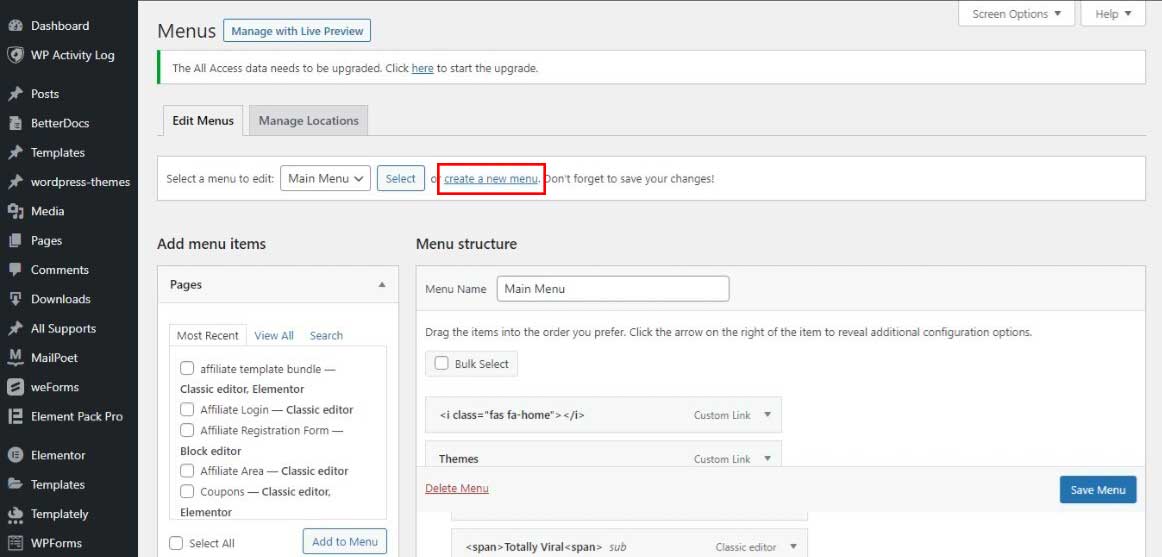
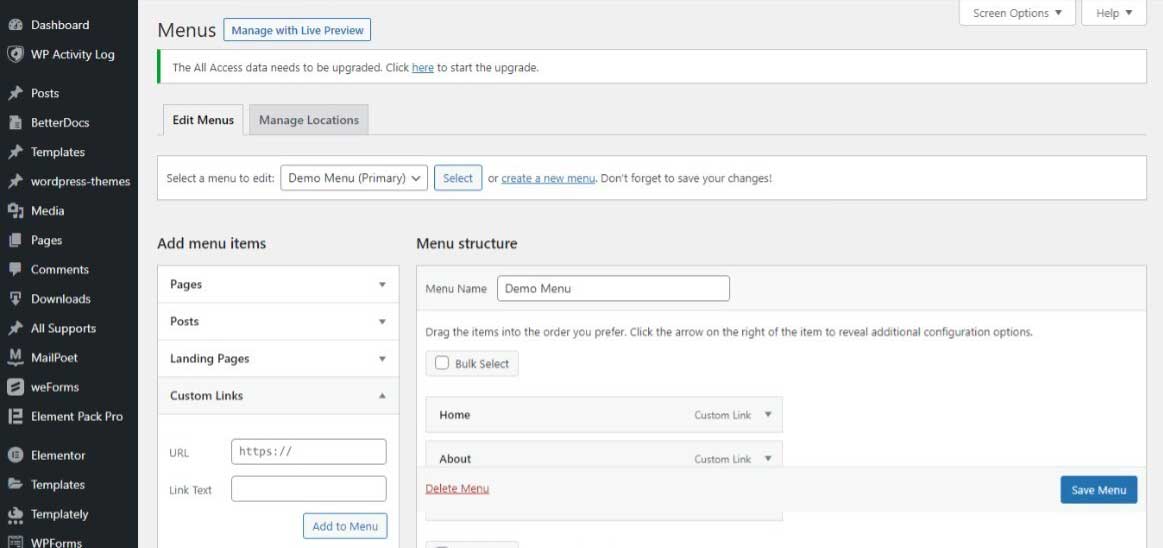
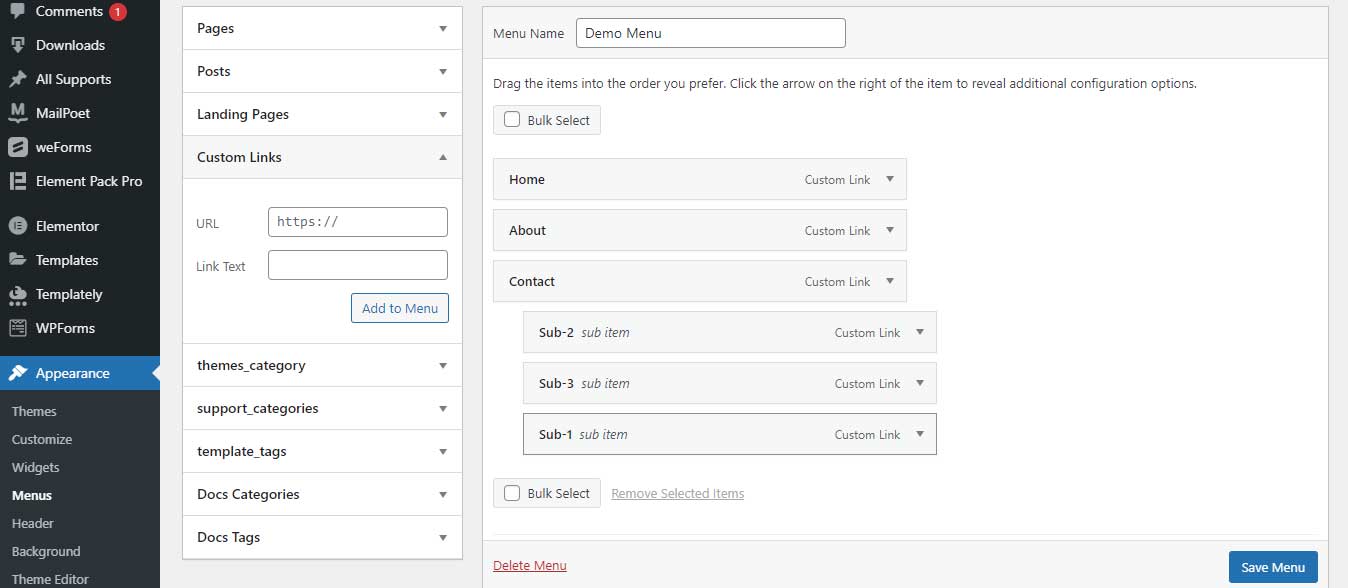
1. So we go to the WordPress Dashboard >> Appearance >> Menus and click on create a new menu:
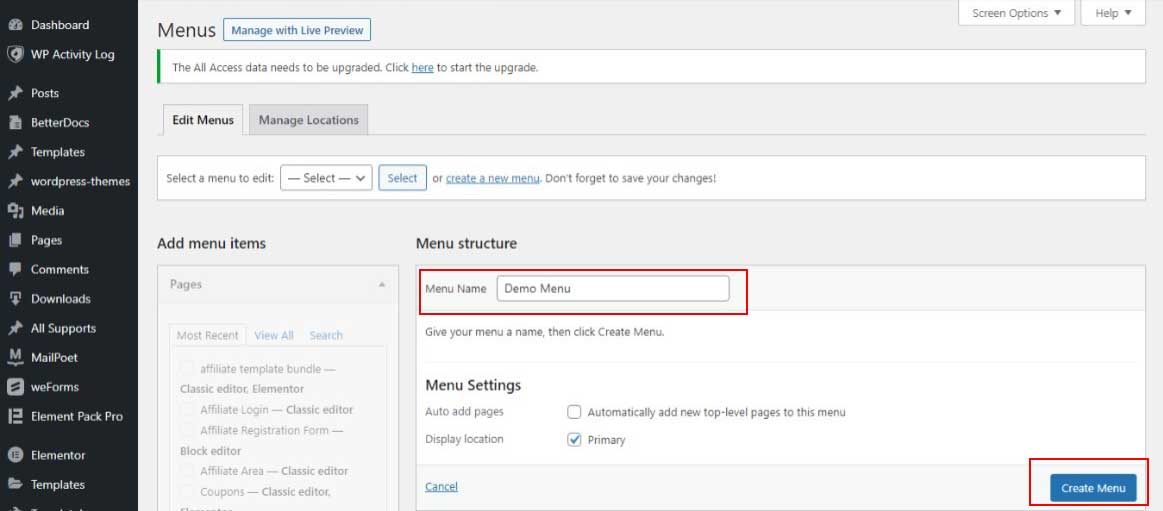
2. Then, we give the name and click on Create Menu. After that, we select the header and click on the save menu :
3. Next, we click on Individual Links, enter the link text and the URL and click on Add to Menu :
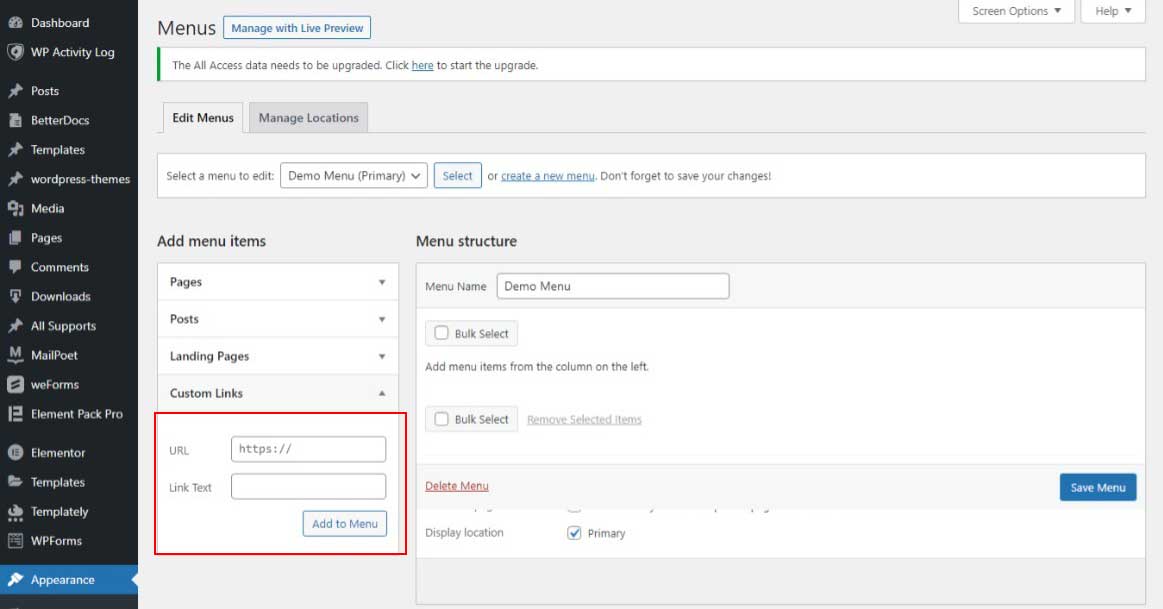
Where do our links lead to?
- Home – leads to the homepage
- About – about biography so that our customers can get to know me
- Contact – to our contact details
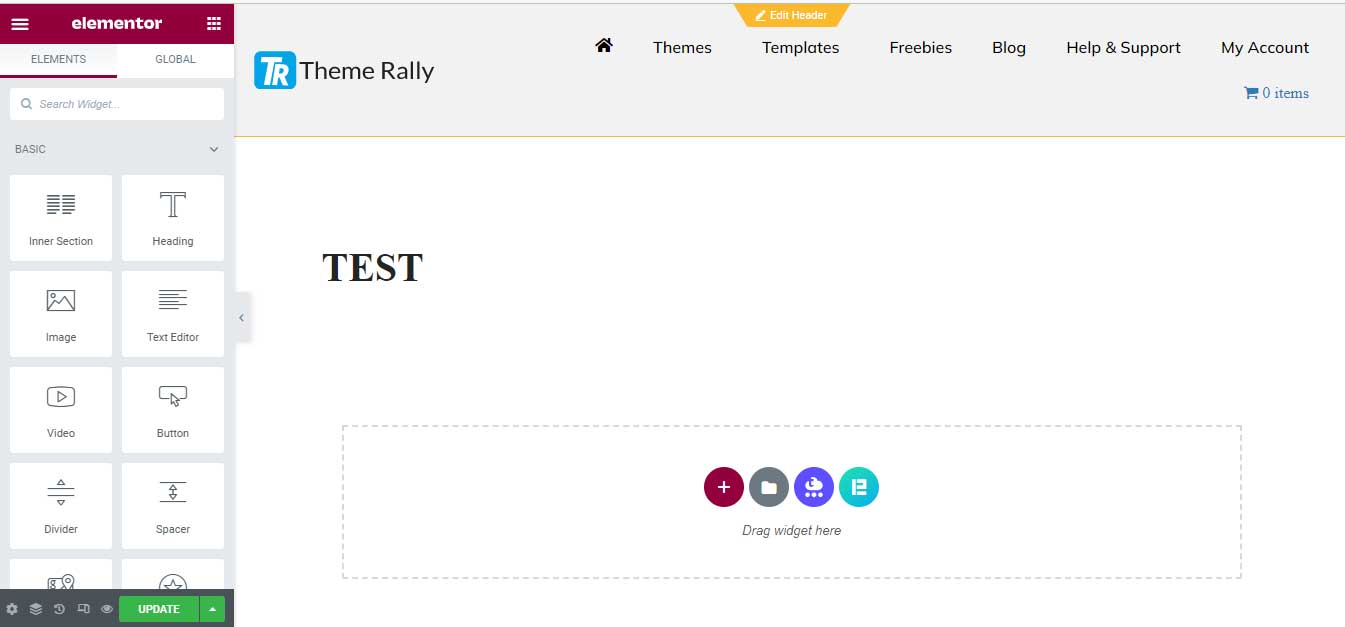
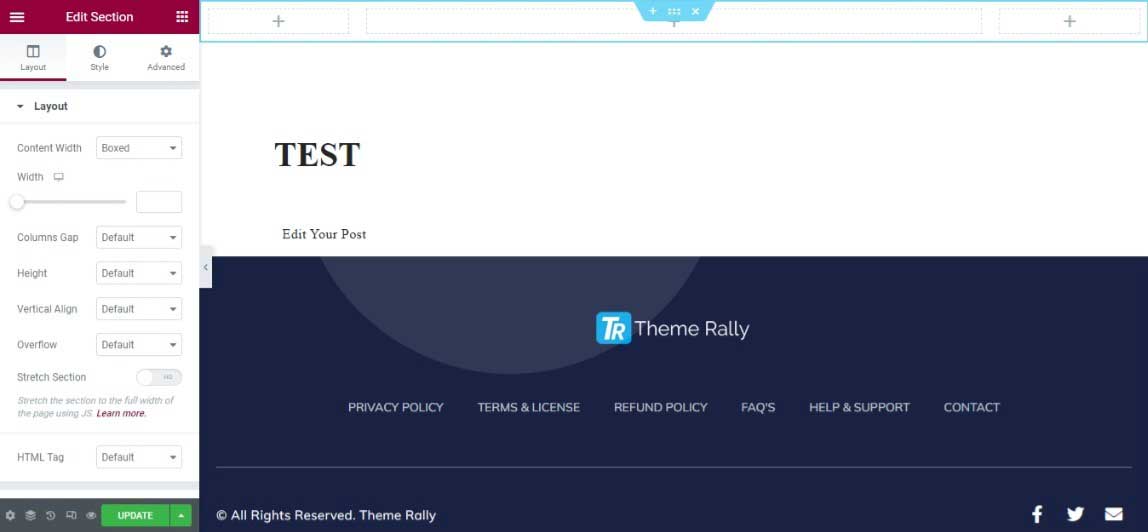
4. Then we open a page through Elementor and click on Edit Header:
5. After the page loads, we’ll click Delete Section to create our header:
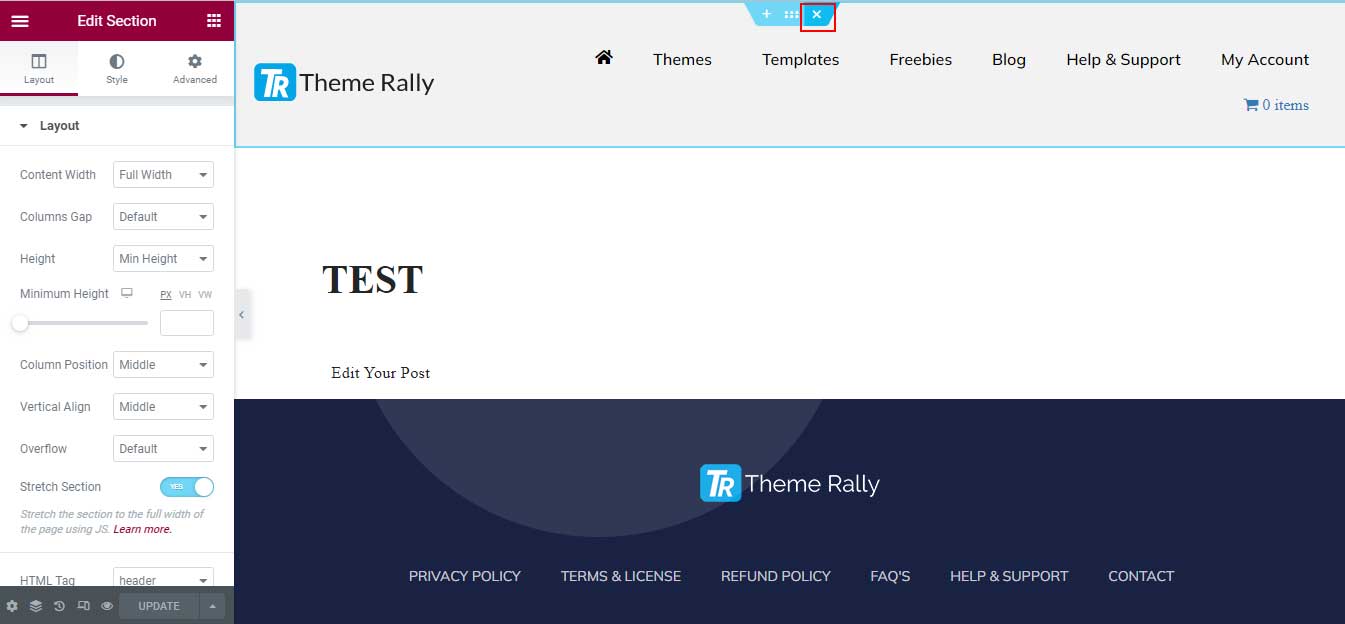
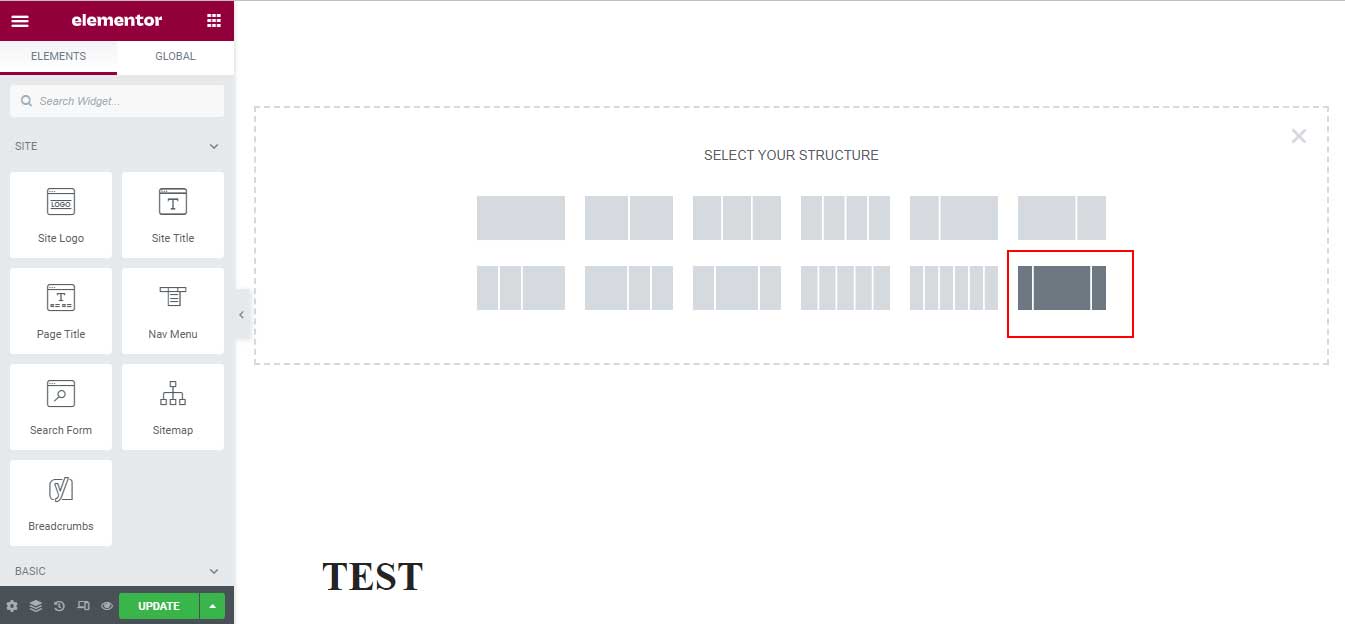
6. We click the cross to add a new section and set the structure. Finally, we choose the last structure:
7. We go to layout :
- Content width >> full width
- Column spacing >> No gap
Add Elementor Elements
Now we’re going to add elements. We want our header to have an icon and a menu. The right column should contain a logo and the central column – a menu. Come on!
1. We click this icon
![]()
2. And add Choose Icon and Nav Menu. You can search for these items here:
![]()
3. As we said, Elementor is a drag & drop builder – we click on the element with the left mouse button and move it:
![]()
4. You can either find an icon in the icon library or upload your SVG file:
![]()
If your logo was saved as PNG instead of SVG, you could convert the file. Convertio or online convert proves to be helpful.
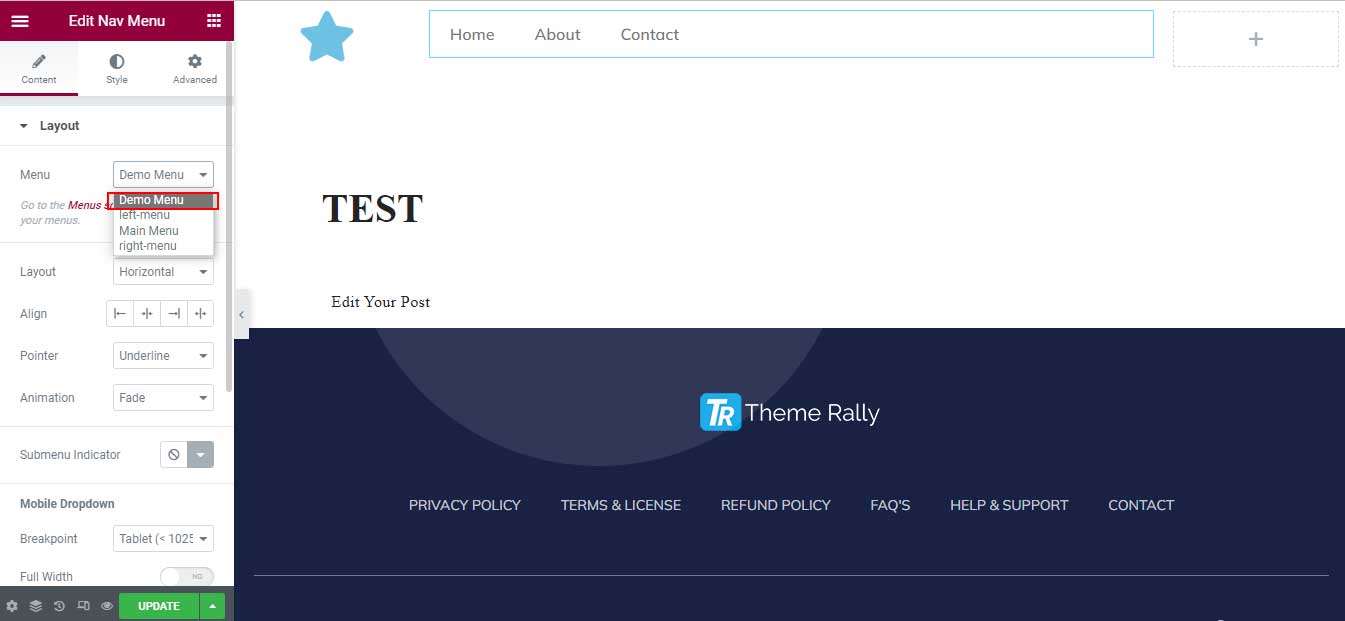
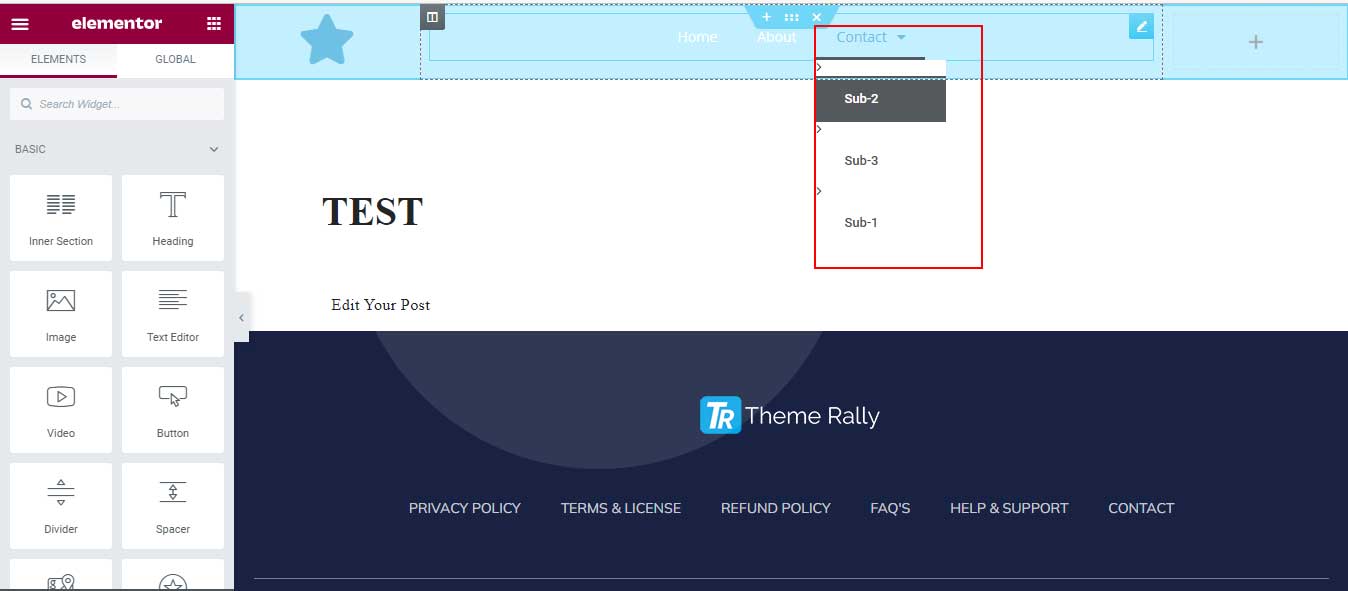
5. To add the menu, we’ll use the item called Demo Menu and choose the header:
Customize Header
Take a look at the header. Does it look suitable? If so, then save the page and close the editor. If not, you can adjust it.
![]()
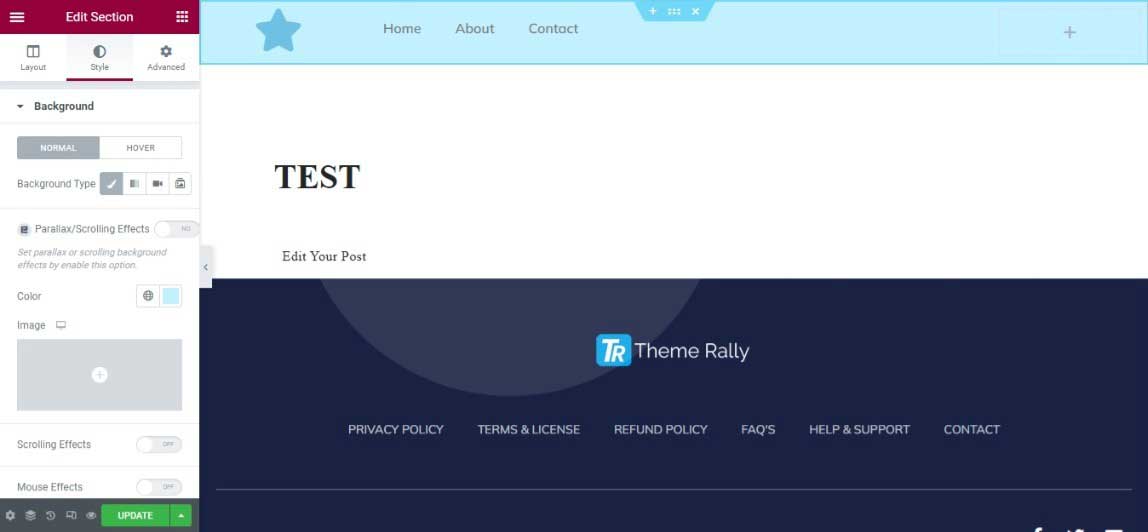
1. We click Edit Section >> Style >> Background >> Background Type >> History :
![]()
2. We’re making the menu in a different color! To do this, we click on Color and choose it. Don’t forget to delete the second Color:
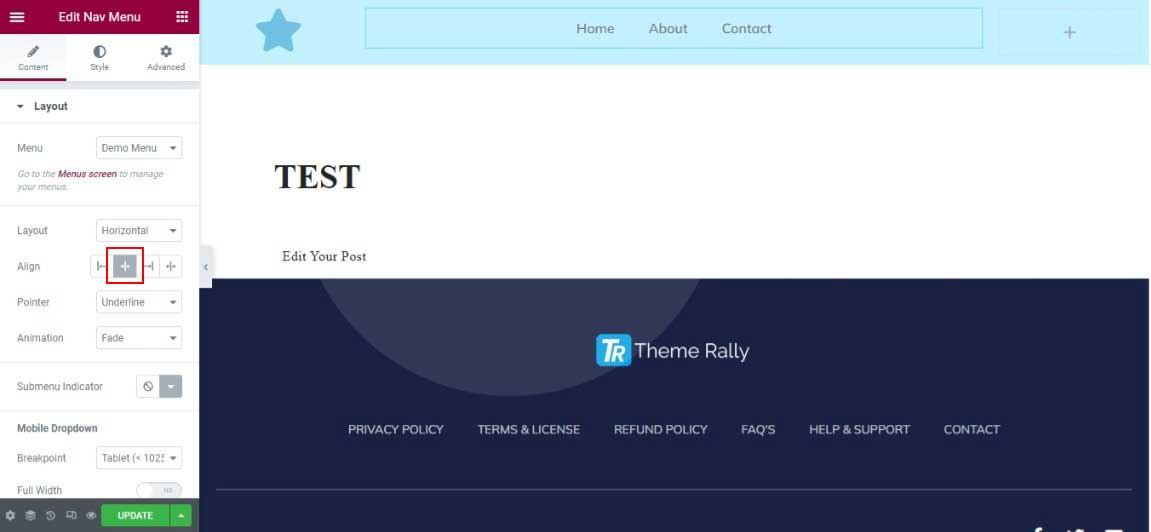
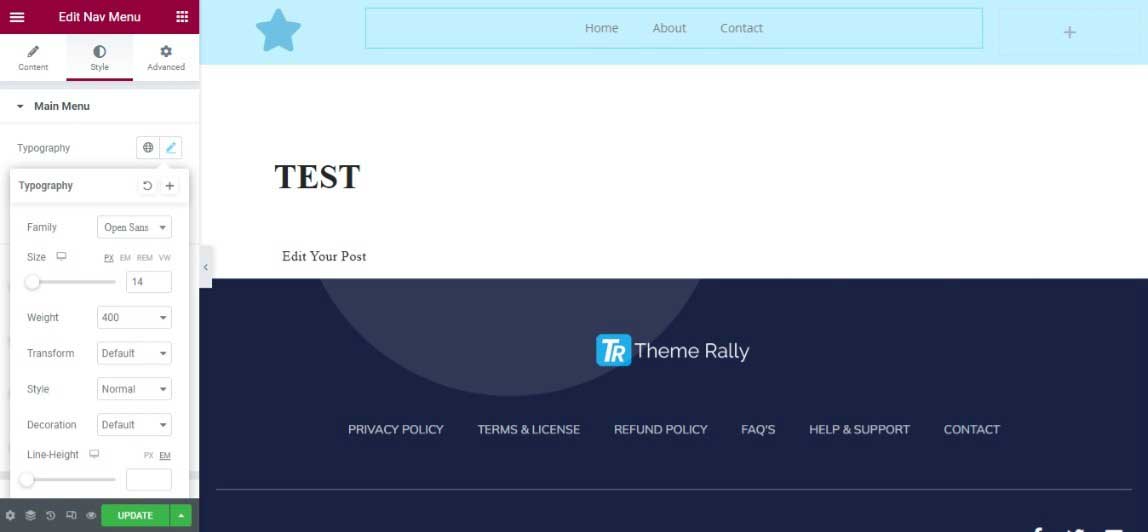
3. Now we click on Edit Nav Menu >> Style >> Menu Container >> Menu Items Alignment >> Center :
Main Menu Items >> Typography:
- Font family >> Open Sans
- Size >> 14px
- Font Style >> 400
- Style >> normal
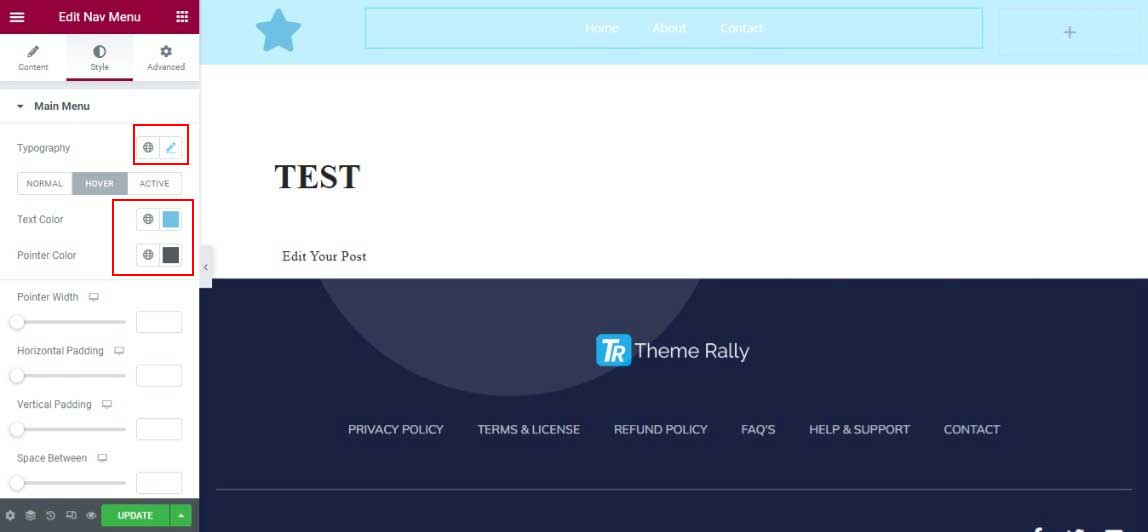
Main Menu Items:
- Normal >> Text color >> #FFFFFF
- Hover >> Text color >> # 6EC1E4
- Hover >> Background Type >> Classic >> Color >> # 54595F
- Hover >> Margin >> 0,0,0,0
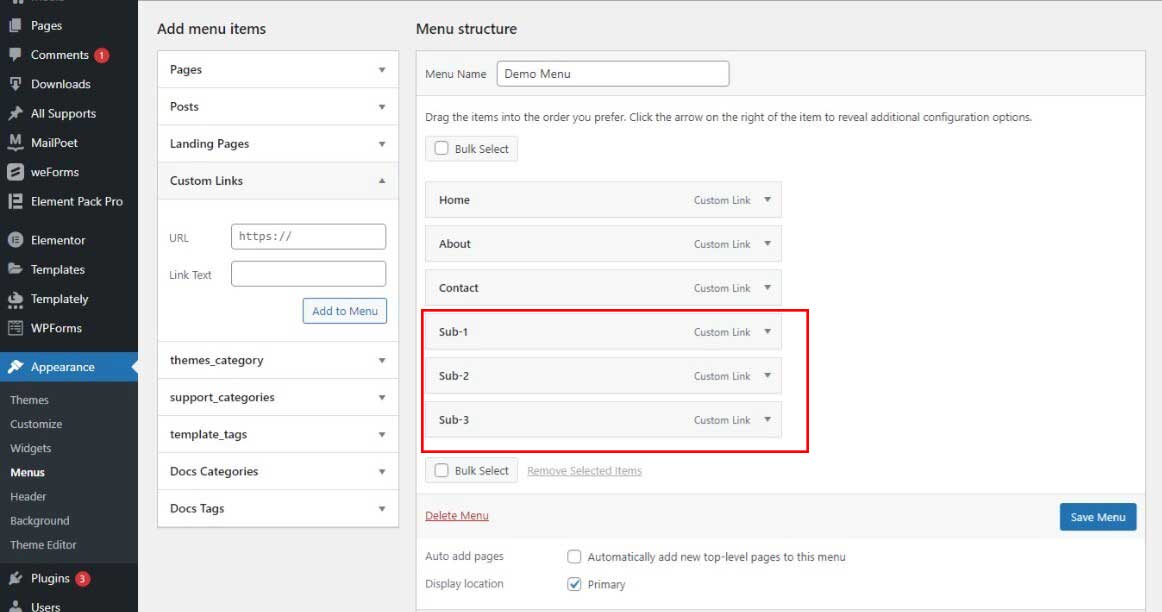
You can create submenus if you want to add more pages to your header or narrow down the menu.
1. Go back to Dashboard and add more custom links :
2. we drag the submenu items to the right and drop them under the menu item:
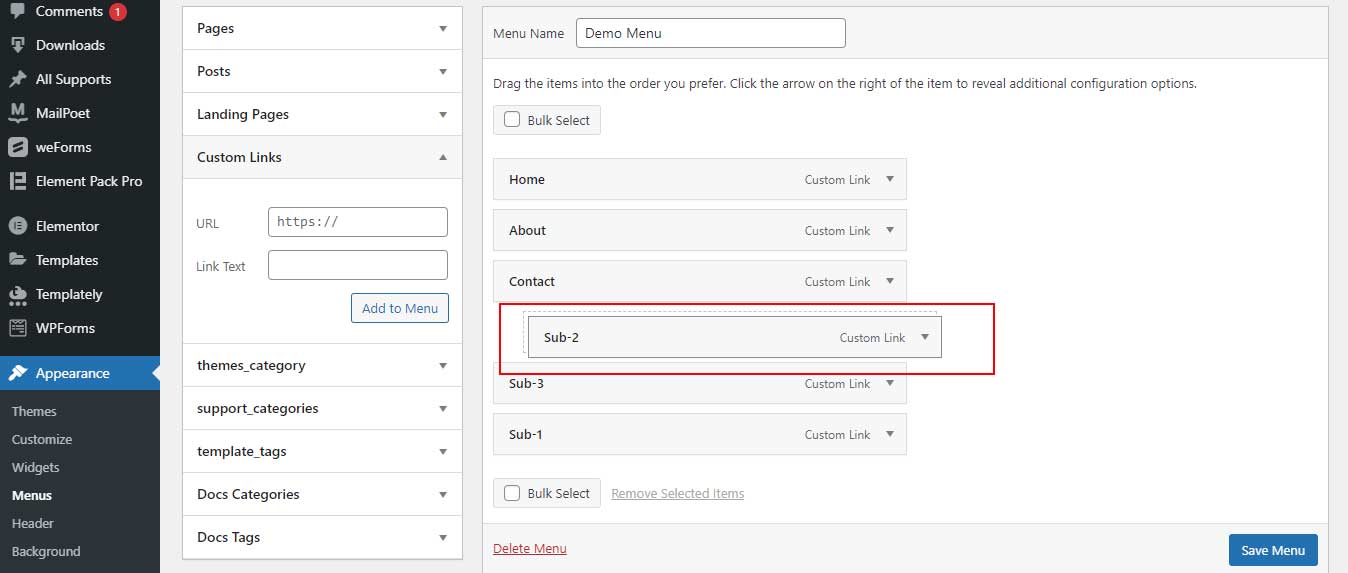
3. We click Save Menu and go back to Elementor.
5. We click Sub Menu to customize the submenu.
Make Headers Responsive with Elementor
Since many users visit websites from tablets and mobile phones, you should adapt your site to all devices and make it responsive.
1. First, click on responsive mode and choose tablet or mobile :
![]()
2. Then, go to Mobile Menu and choose the colors. Next, we click on Main Menu Items >> Typography >> Size >> 20. If an element has the mobile phone symbol, this means that the change only applies to the mobile version:
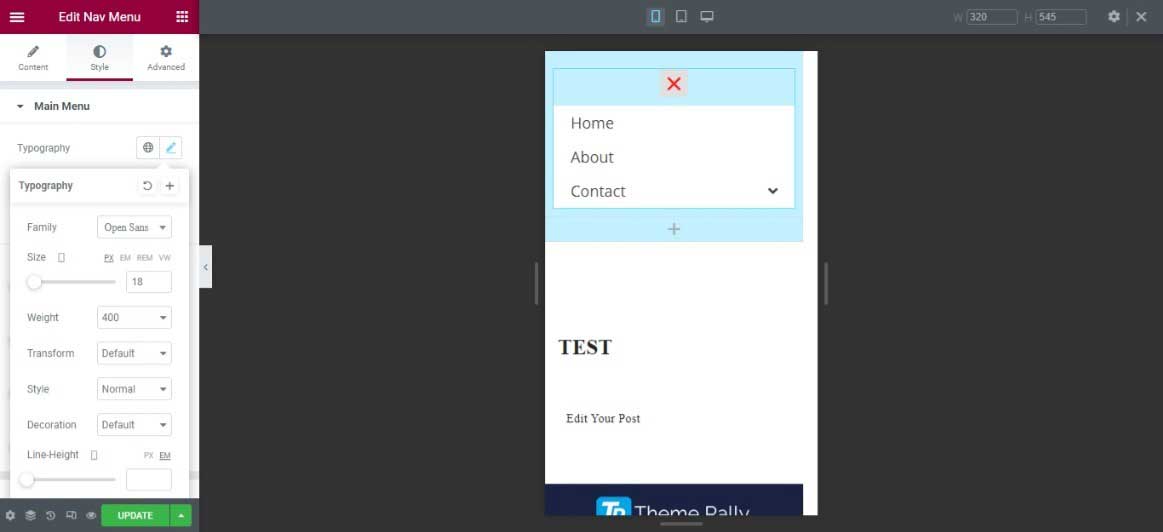
3. Once you’ve done everything, don’t forget to save the header. At this point, we click on UPDATE.
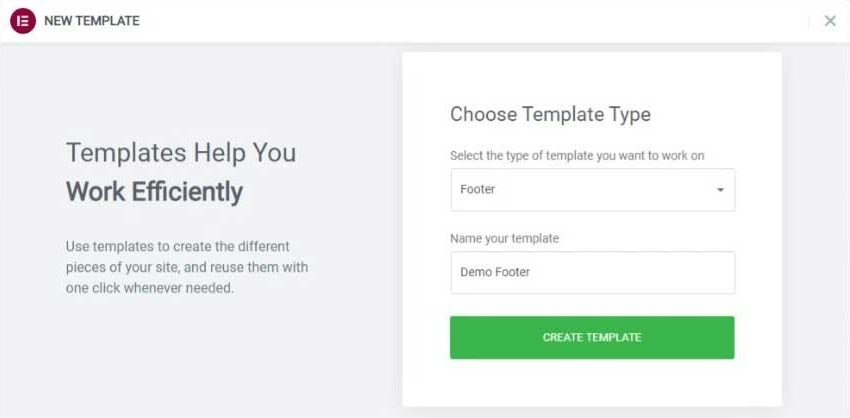
If you want to create a footer from scratch using Elementor, it is essential to have Elementor Pro installed and active since it is a functionality that we do not have in the free version. The truth is that the Premium version is worth having, not only because of the possibility of creating global templates but also because of many other factors.
Once the Pro version is installed, it is straightforward. In the WordPress dashboard menu, you will find a new item called Templates, click on it and click “Add New”. Next, a window appears to choose what type of template we will create, and we will choose Footer.
In cases where the project is already started and you just want to modify the footer, the first thing to do is to detect if an Elementor footer template is being used, to do this, follow these simple steps:
- Log in with your administrator or editor user in the WordPress installation
- Open any page on the web.
- Place the mouse pointer on the top bar where it appears ” Edit with Elementor ·
- If a submenu is displayed with the option of “Name of your template | Footer” then, is that on that page you are using a template for the footer.
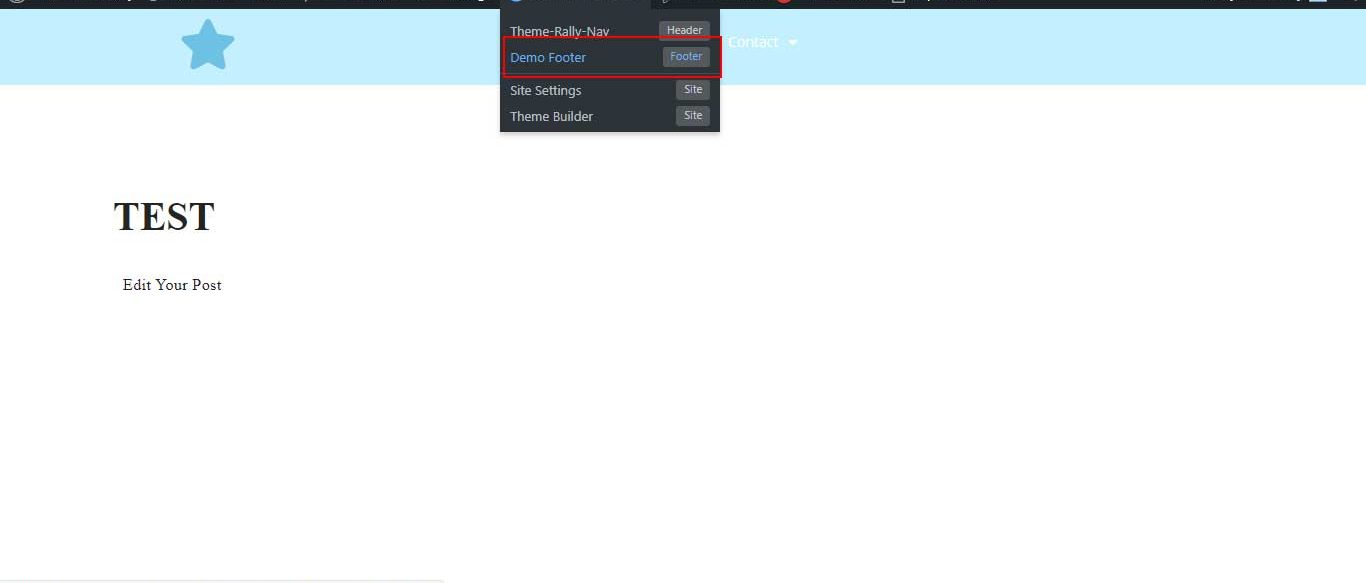
Click on the template and the Elementor editor will open so you can modify it to your liking. After finishing with your modifications, save the changes and exit the editor.
From that moment on, the footer will be modified in all the pages where you have it active.
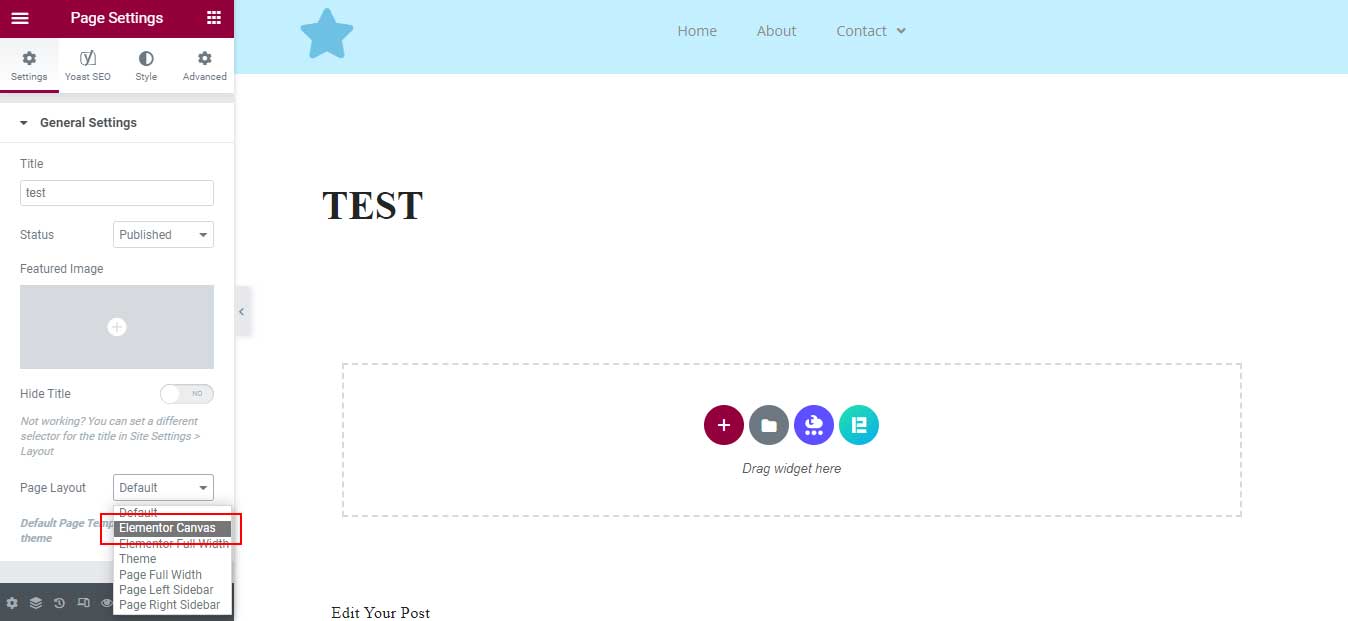
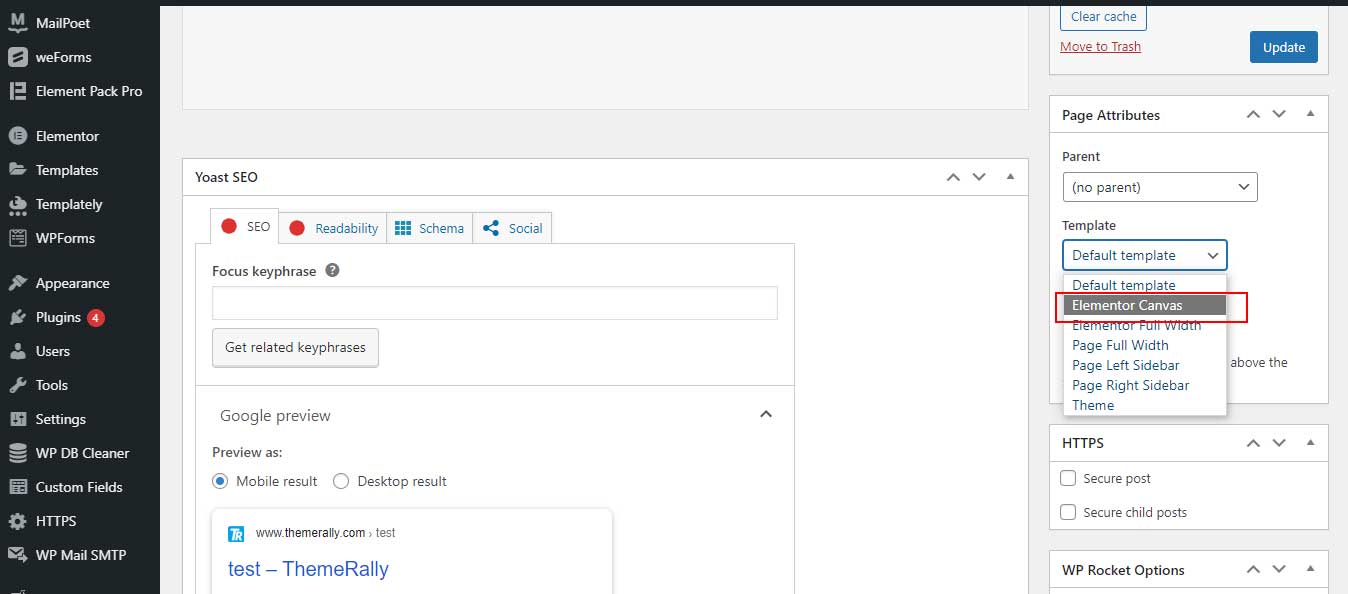
Remember that for a footer or header template to be displayed on a WordPress page, it has to be configured as “Elementor canvas”. By selecting this option, Elementor overrides the functionality of the theme’s header and footer. This configuration can be done from the WordPress editor or from the Elementor editor column.
Conclusion
Well, that is the full process to create and edit the header and footer with Elementor. We can surely say that you will succeed to create and edit the header and footer perfectly with Elementor after following these steps. You can also read our most popular article 8 Best Resources to Download Free and Premium Elementor Templates.
If you have any queries, share them with us by commenting below in the comment box.